How EngraveFill Pro Works
A step-by-step workflow to turn your outline into intricate, production-ready fill artwork – perfect for laser engraving, metalwork, inlay, and more.
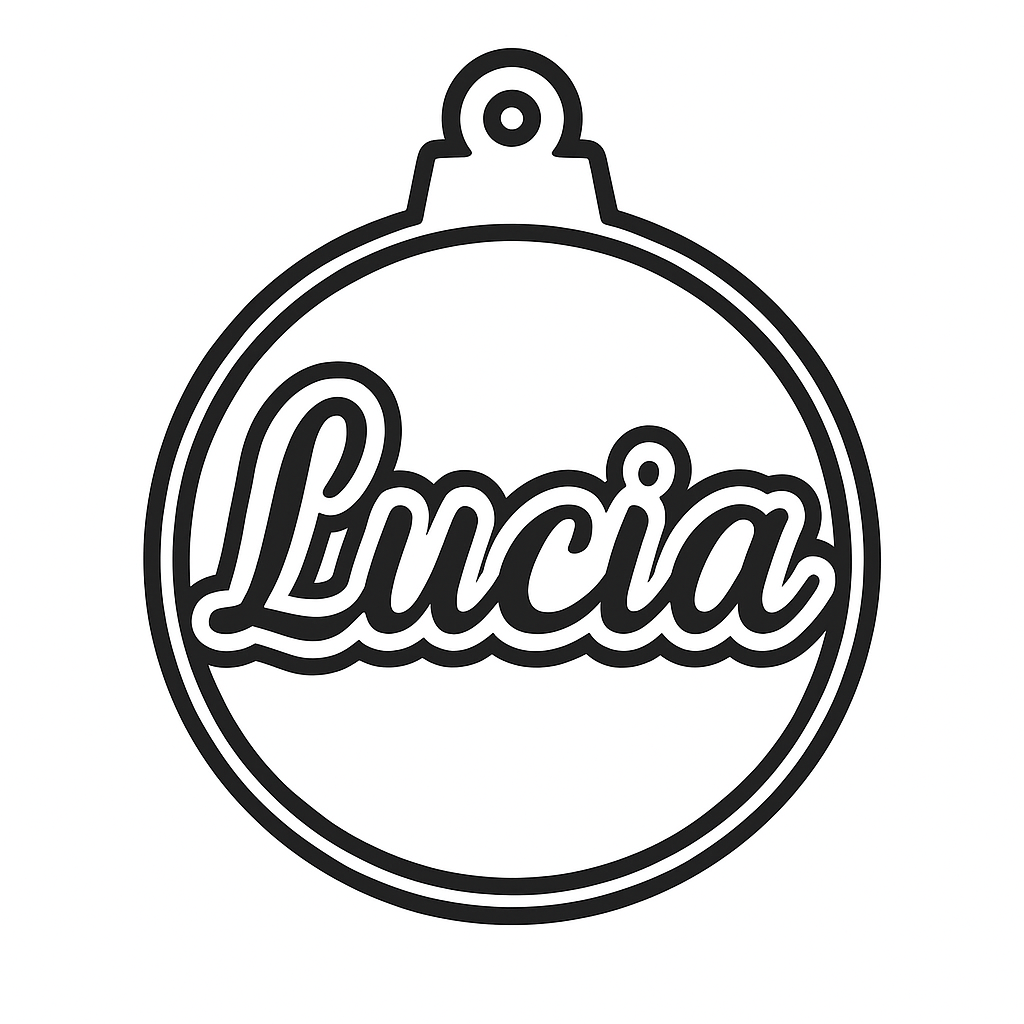
Start by uploading a clean outline of the shape you want to engrave. This should be your bounding mask and serves as the container for the scrollwork fill.
Use high-contrast PNGs with a white background, PNG masks from your CAD / illustration app. The better the outline, the cleaner the final fill.
The app will keep the outline perfectly intact and work only inside the valid white areas of your mask – no distortion, no resizing, no smoothing of your shape.

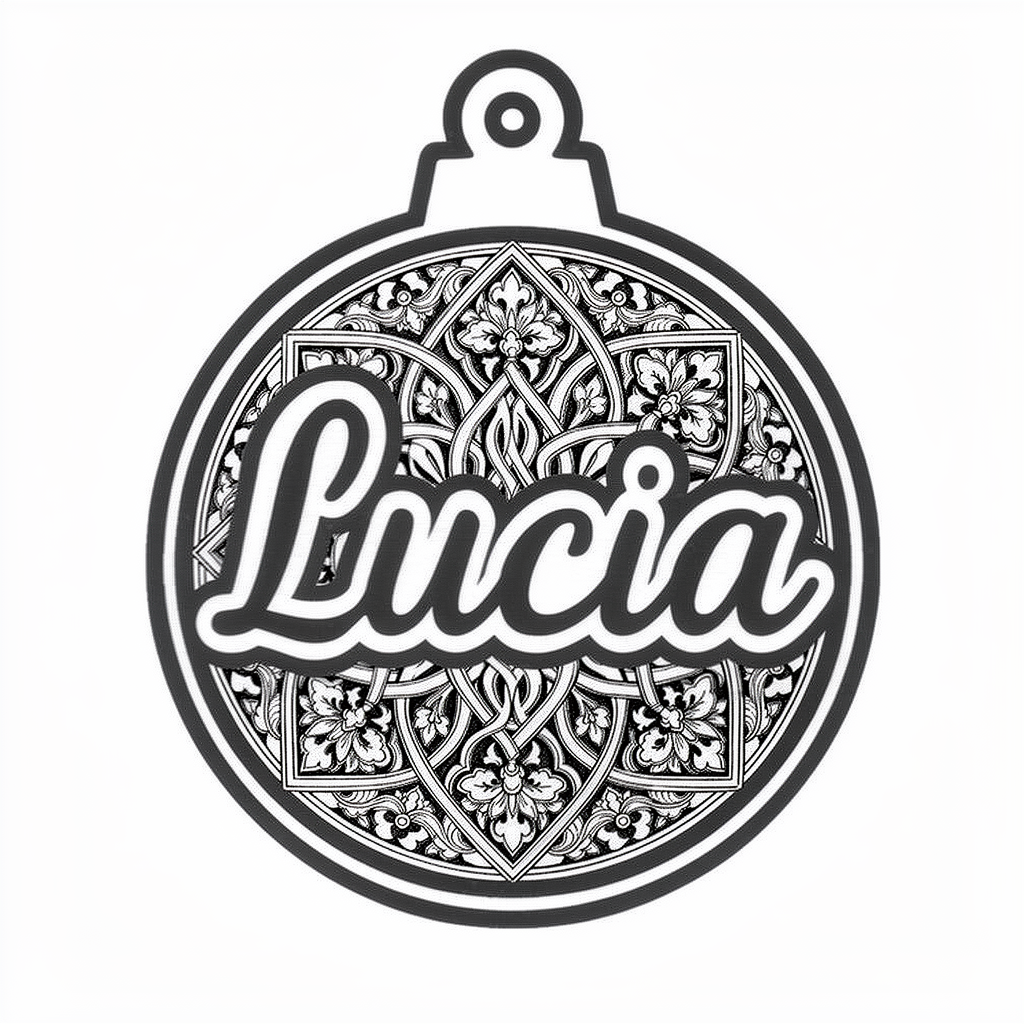
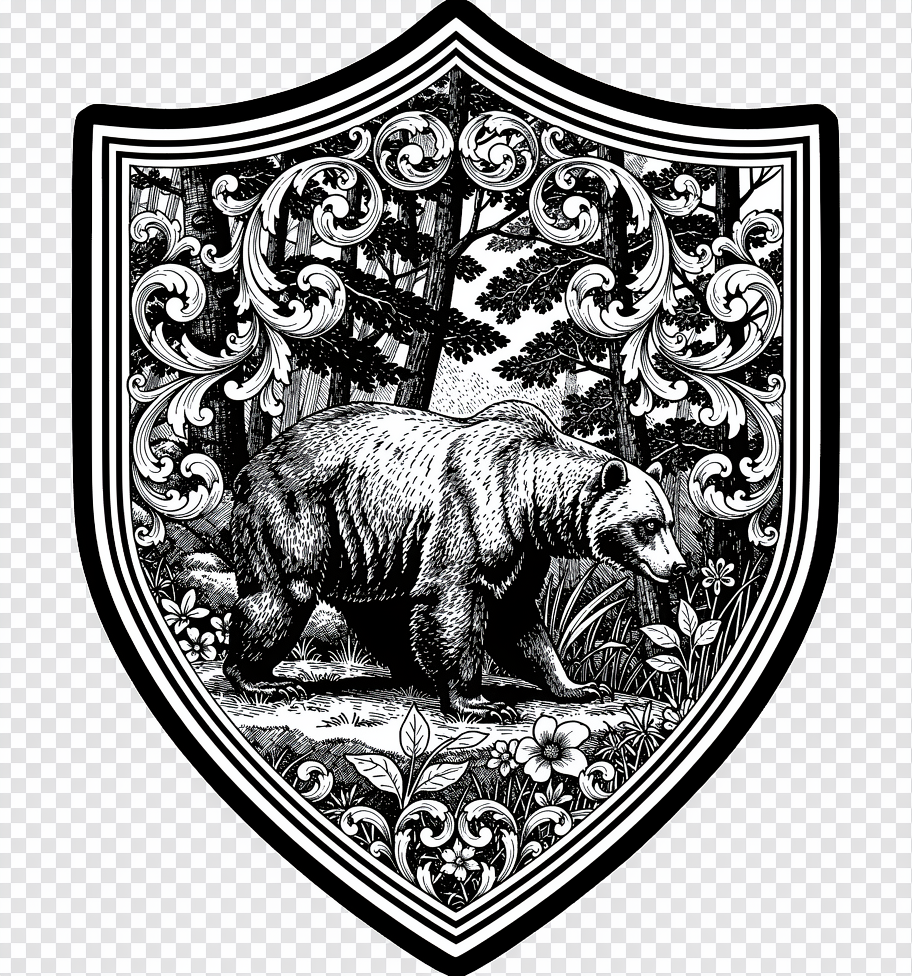
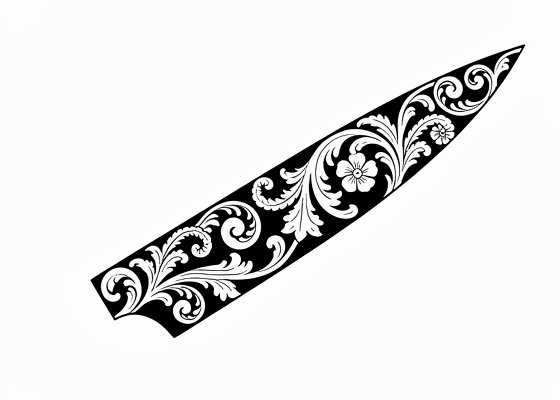
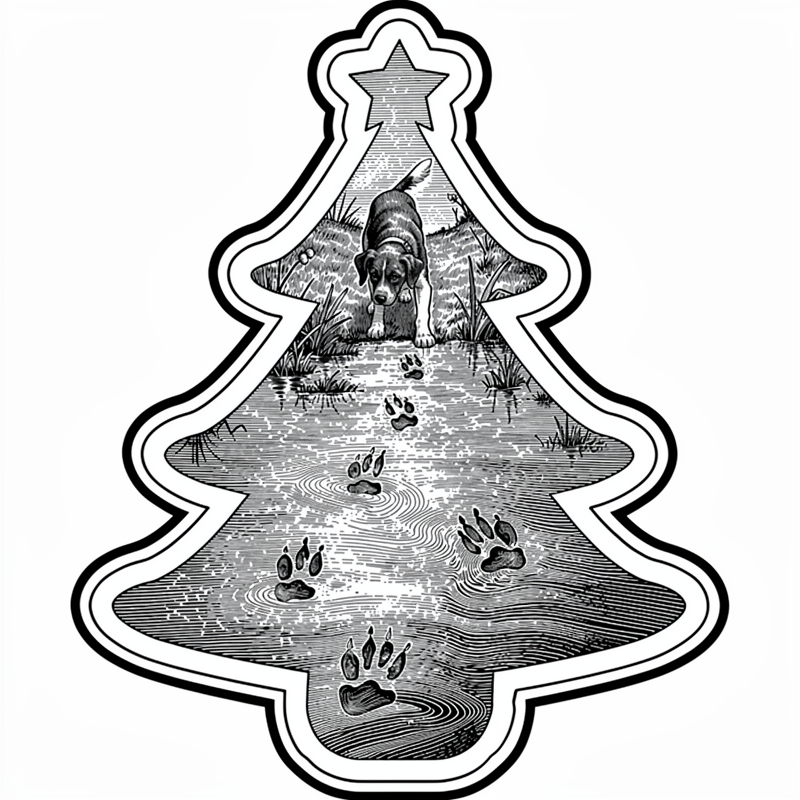
Choose your engraving style – from baroque ornamental motifs and acanthus leaves to geometric, camouflage, automotive or themed fills.
When you are ready, click the Generate button. Artificial intelligence will create a dense fill ready for engraving right inside your mask, preserving all internal cutouts. success depends on your pre-prepared image 90% of success is up to you. We recommend using Inscape . Recommended size 1024x1024 px
Once the fill is generated, review the result directly in the preview. If you need a variation, simply regenerate with the same or adjusted settings.
When you are satisfied, download the result as a high-resolution PNG. The artwork is optimized for laser and CNC engraving workflows.
You can then import the result into your favorite vector or CAM software for final toolpath preparation, layout, and production.